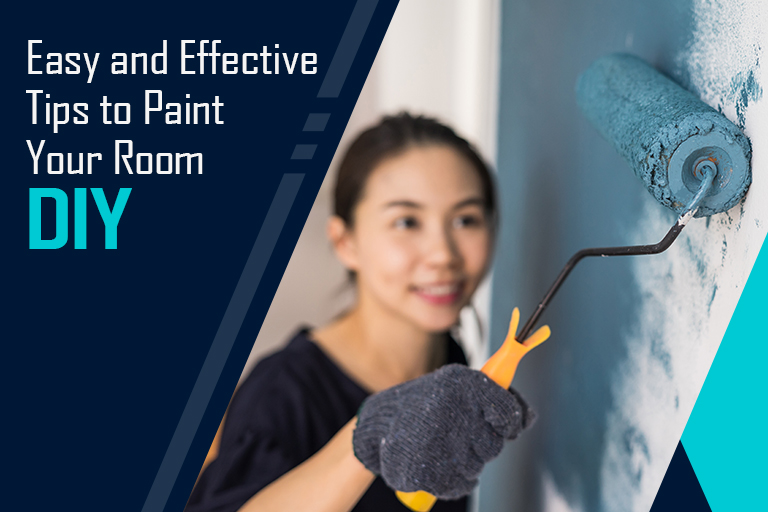
Easy and Effective Tips to Paint Your Room DIY
A coat or two of paint is an easy and quick way to improve the overall appearance of any room. On the other hand, a survey conducted in London recently says that one in every 5 people does not know where to start when painting a room DIY.
Skilled and experienced decorators in London share some easy tips in the following sections of the blog post for rookie painters to get the job done hassle-free. Read on to know more.
Items you require for the job
- A paint tray and roller.
- A tin of paint in your chosen colour.
- A mixing stick.
- 2 paint brushes – one small and another medium.
- Little amount of white spirits.
- Masking tape.
- Plastic sheets or drop cloths (to cover your fixtures and furniture).
- A step ladder.
- Absorbent clothes to dust walls and wipe up spillages.
Choose your paint
The colour or shade that you choose for your walls invariably has a huge impact on the overall look and feel of your room. Therefore, it is crucial that you choose the right shade. If you feel like it, you can take online help to choose the right colour. Once the colour is finalised, use an online paint calculator to calculate how much paint you need to cover the room.
Use a tape
Use the masking tape to cover up window frames, doors, hardware, coving, wall sockets and anything else that you do not want to paint. Apply the masking tape in a straight line neatly so that the paint edges too turn out neat.
Cover up
If possible, remove all of the furniture from the room and make space. If you cannot remove the furniture, use drop cloths or plastic sheets to cover them up properly. To cover up light fittings, consider using carrier bags made from plastic.
Spread a drop cloth on the floor of the room and tape it down if possible. This protects the floor from paint drips. Removing those drips turns out to be an ordeal later.
Dust down the walls
Dust down the walls before applying paint. This effort ensures ultra-smooth finishing of the walls. Use a dry piece of cloth for this. Take care to remove cobwebs from the corners of the rooms.
This is your best opportunity to get rid of those old nails and screws from the walls. Use sandpaper to smoothen out uneven patches. Lastly, use multi-purpose filler to fill in the gaps across the wall surface. Now the room is prepared for painting.
Painting the walls
Walls that have already been painted do not require a primer. Therefore, at this stage you can dive down straight to open the tin of paint.
- Use the mixing stick to stir the paint well inside the can.
- Pour little quantity of the paint into the roller tray.
- Paint the outer 10 centimetres of the wall using a medium-sized brush.
- While painting unhesitatingly go over the masking tape edges.
- Fill in the rest of the wall surface with the paint roller.
- Focus on delivering a smooth and even finish. To achieve this, do not overload either the roller or the brush.
- Let the first coat of paint dry. If another coat is required, apply it only after the first one has dried.
- If you are changing the colour of the walls, a third coat of paint is most likely to be required.
Peel the tape off
After the paint has almost dried up, peel off the masking tape carefully. You cannot afford doing this after the paint has completely dried up. Why? Because then you may also pull off sections of paint while peeling off the tape. If there is a little pulling off the paint, give touch-up to the required areas of the wall with the small paint brush.
Some of the best painters in London have something important to add. According to them, paint in ‘W’ or ‘V’-shaped strokes while painting with the roller and not those ‘up and down’ or ‘side to side’ strokes. This way you ensure a prefect finishing free from any stripes.